
Update BIOS under DOS system
author: VENOEN
2025-08-19
- Preparation:
- 1 U disk
- Rufus.exe (DOS production tool) download address: Rufus - Download (softonic.com)
- Bios file (obtain from your supplier)
- 1 Windows PC
- DOS system production
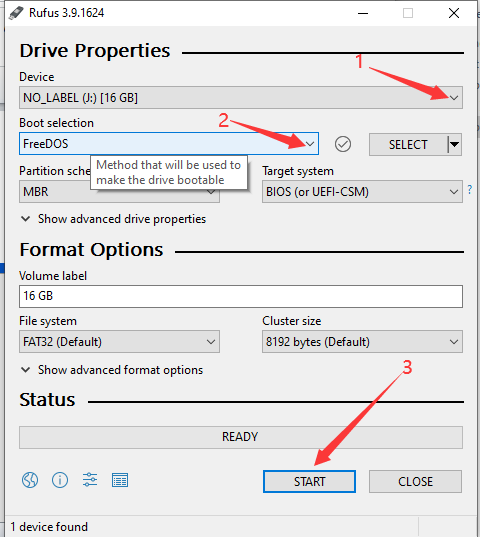
1. After the preparations are completed, insert the U disk into the USB port of the PC and run Rufus to write the Dos system to the U disk.
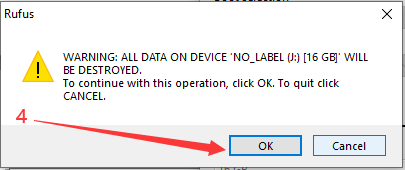
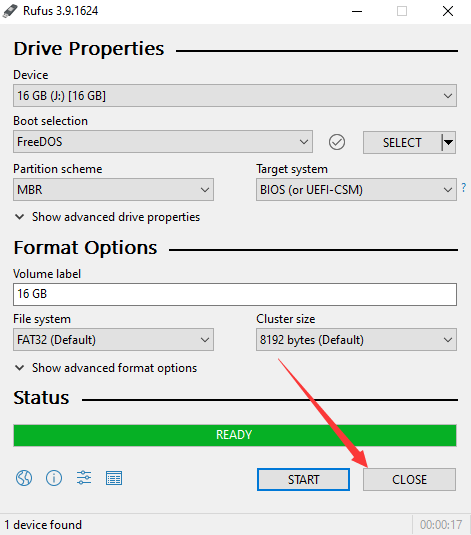
2. Select the inserted U disk in the Device option of the software, select FreeDOS in the Boot selection option, click START after selection, press OK to confirm, and exit the software after the creation is successful. (Note: This operation will delete the data in the USB flash drive. If you have important data, please back it up in advance)
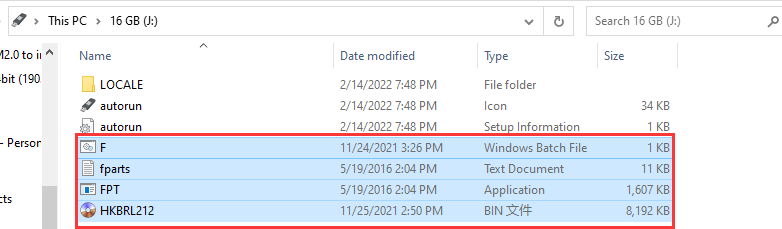
- Unzip the BIOS file and copy it to the root directory of the USB flash drive, as shown in Figures 1-4 and 1-5 below.
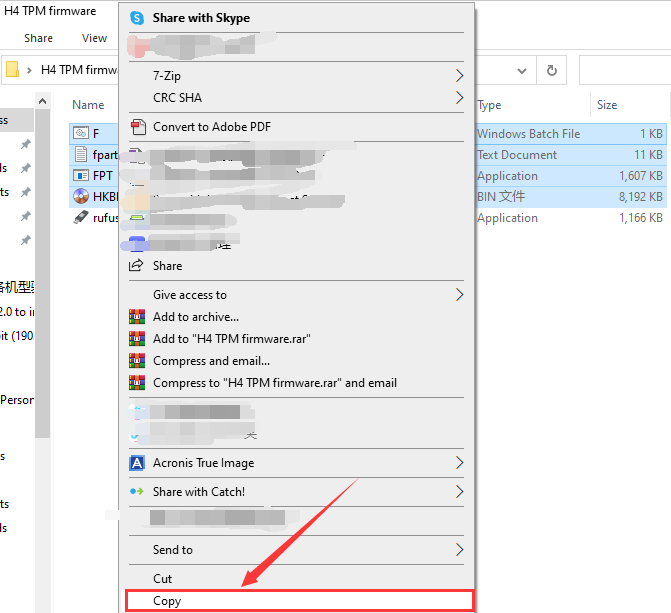
- BIOS update
1. Insert the USB flash drive into the USB port of the model that needs to be updated.
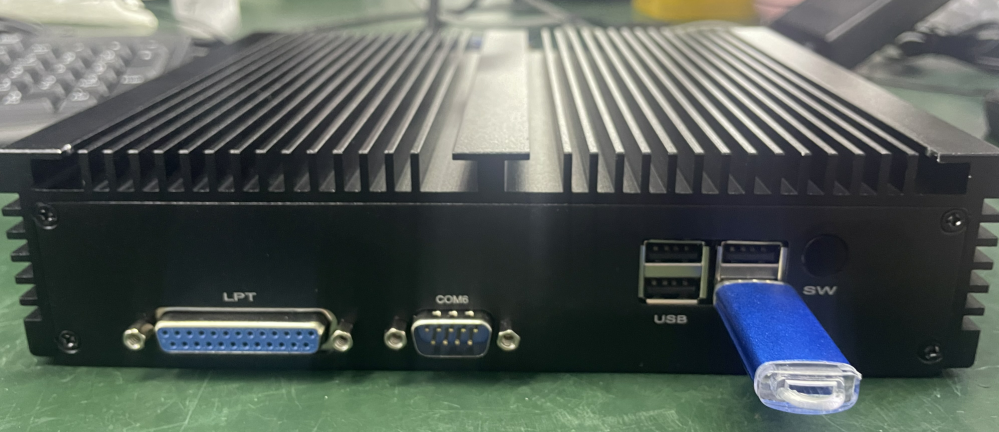
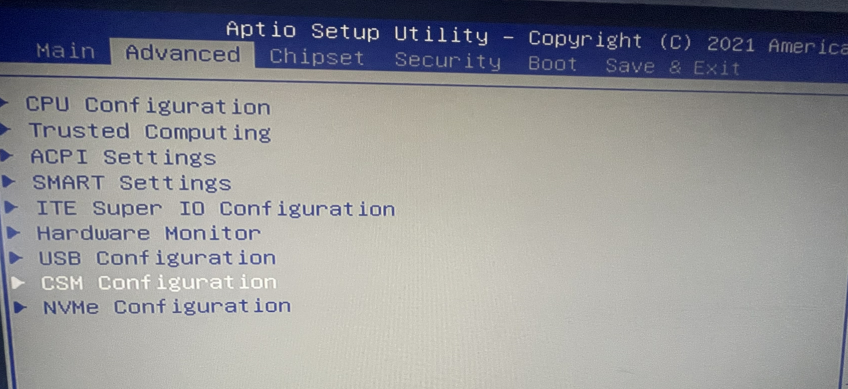
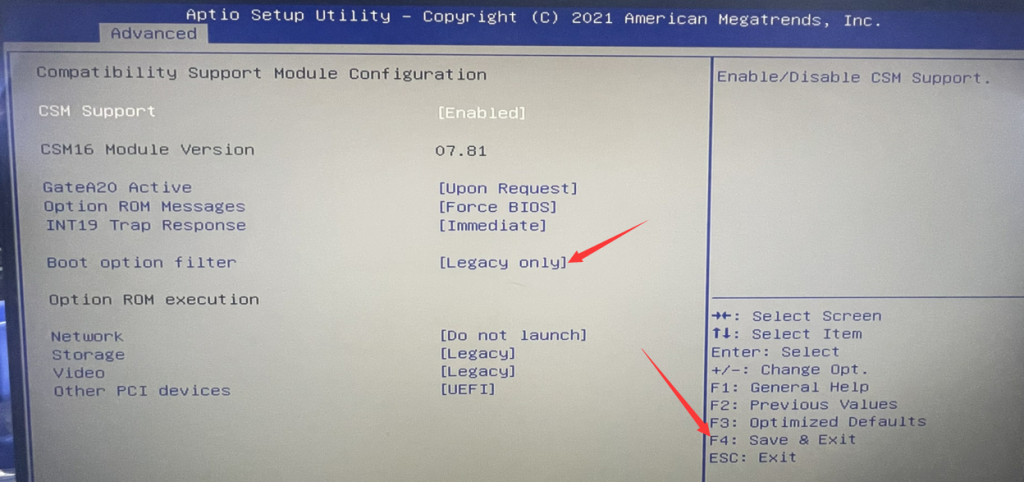
- 2. Press the power button to turn on the computer and press the Delete key on the keyboard to enter the BIOS. Expand Advanced>CSM Configuration>Boot option filter and set it to Legacy only. After the setting is successful, press F4 or F10 (the shortcut key depends on the model) to save and exit.
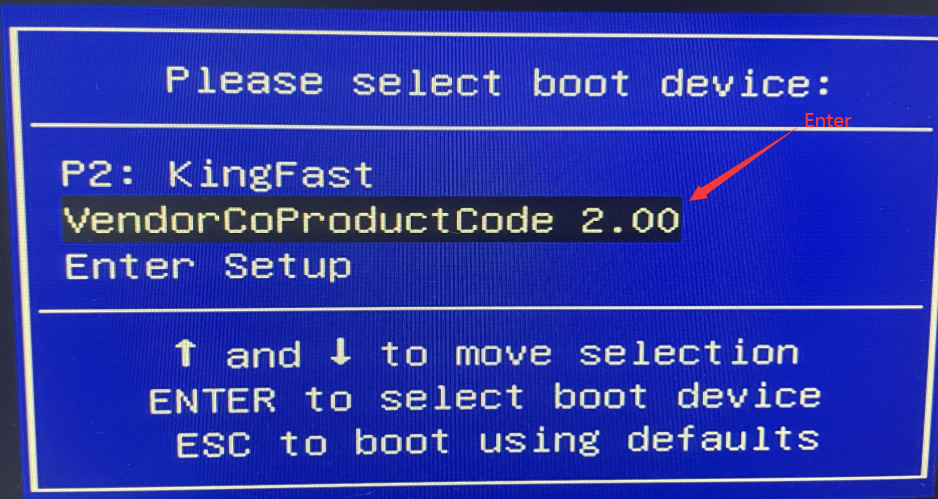
- 3. After restarting, quickly press the F11 key on the keyboard, select the USB flash drive and press Enter to confirm entering the DOS system.
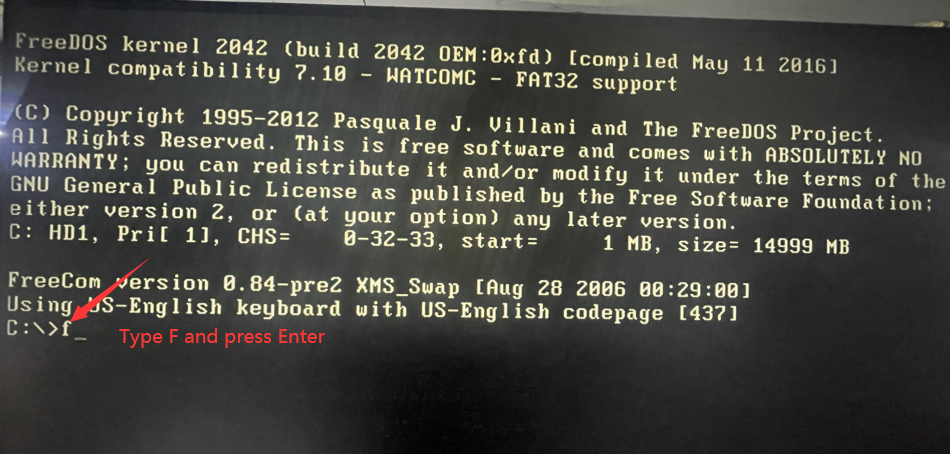
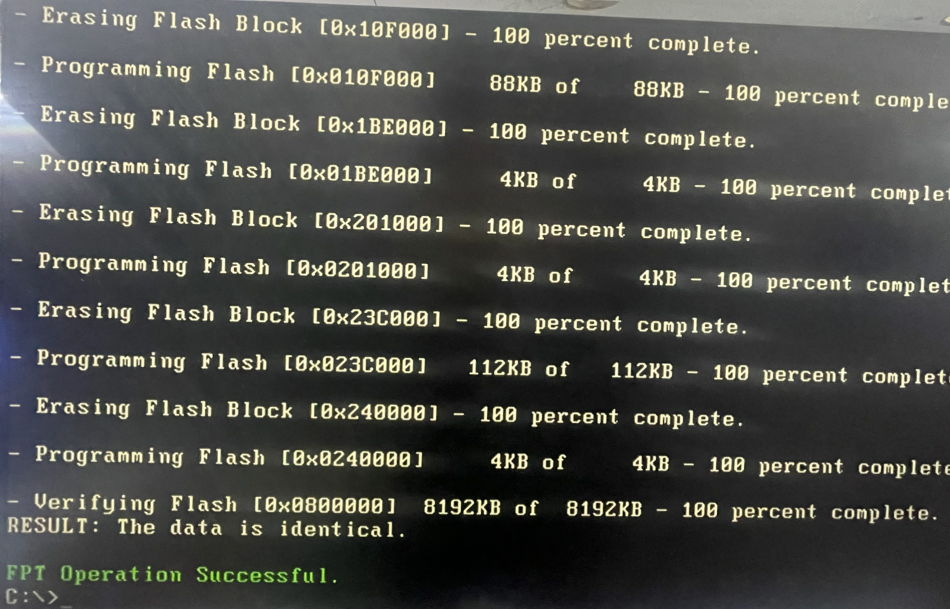
- 4. After entering DOS, enter F and press Enter to confirm. When FPT Operation Successful appears, it means the BIOS update is successful. Press the power button to shut down.
Build RAID process in BIOS
Why does the graphics card core display Intel on the 12th generation core graphics card model ® UHD?
